Kitchen Chimney Installation Guide: Installing a kitchen chimney is an important step in ensuring proper ventilation. Not only does it remove smoke, odors and grease but it also prevents buildup of pollutants, affecting health. Learn about the process, tools, materials, and installation cost in our guide.
Table of Contents
Tools and Materials
- Measuring tape
- Drill
- Hole saw
- Level
- Screwdriver
- Adjustable wrench
- Chimney kit (including vent, pipe, and elbow)
- Sealant
Measuring tape: A measuring tape is a tool used to measure lengths of materials or distances between points. It is important to use a measuring tape when installing a kitchen chimney to ensure that the vent, pipe, and elbow are cut to the correct length and that the chimney is properly aligned with the stove or cooktop.
Bestseller Tape: STANLEY STHT36127-812 5 Meter Plastic Short Measuring Tape (5m) (Yellow)
Drill: A drill is a power tool that is used to create holes in various materials, such as wood or metal. A drill is necessary when installing a kitchen chimney because it is used to make holes in the wall or roof for the vent and pipe to pass through.
Bestseller Drill: BLACK+DECKER KR554RE Corded Variable Speed Reversible Hammer Drill Machine
Hole saw: A hole saw is a type of saw that is used to cut circular holes in materials. A hole saw is used in conjunction with a drill to cut a hole in the wall or roof for the chimney vent to pass through.
Bestseller Hole Saw: Dribotway 152mm 6-inch Hole Saw
Level: A level is a tool used to ensure that a surface is horizontally or vertically level. A level is important when installing a kitchen chimney to ensure that the chimney is properly aligned and level it with the stove or cooktop.
Bestseller Level: BLACK+DECKER BDHT43188 Aluminium Box Beam Level 40cm (Orange)
Screwdriver: A screwdriver is a tool used to turn screws. A screwdriver is necessary when installing a kitchen chimney because it is used to secure the vent and pipe to the wall or roof.
Bestseller Screwdriver: TAPARIA Screw Driver Set with Bulb – 840 (Neon, Silver, and Green)
Adjustable wrench: An adjustable wrench is a type of wrench that can be adjusted to fit different sizes of nuts and bolts. An adjustable wrench is necessary when installing a kitchen chimney because it is used to tighten and secure the connections between the vent, pipe, and elbow.
Bestseller Wrench: Taparia 1171-8/1171N-8 205mm Steel Single Sided Adjustable Spanner Wrench (Grey)
Chimney kit: A chimney kit includes all the necessary components to install a kitchen chimney, such as a vent, pipe, and elbow. The kit will also include instructions on how to properly install the chimney. For example, a Faber Kitchen Chimney Installation Kit consists of the following items.
- 1 Aluminum Pipe;
- 1 Cowl;
- 2 Clamps;
- Screw & Wall plug
Sealant: Sealant is a material used to seal or waterproof joints or gaps. Sealant is used when installing a kitchen chimney to seal any gaps or joints between the vent, pipe, and elbow to prevent drafts or leaks.
Bestseller Sealant: Dr. Fixit Kwik N Ezee
Factors to consider before Installing Kitchen Chimney
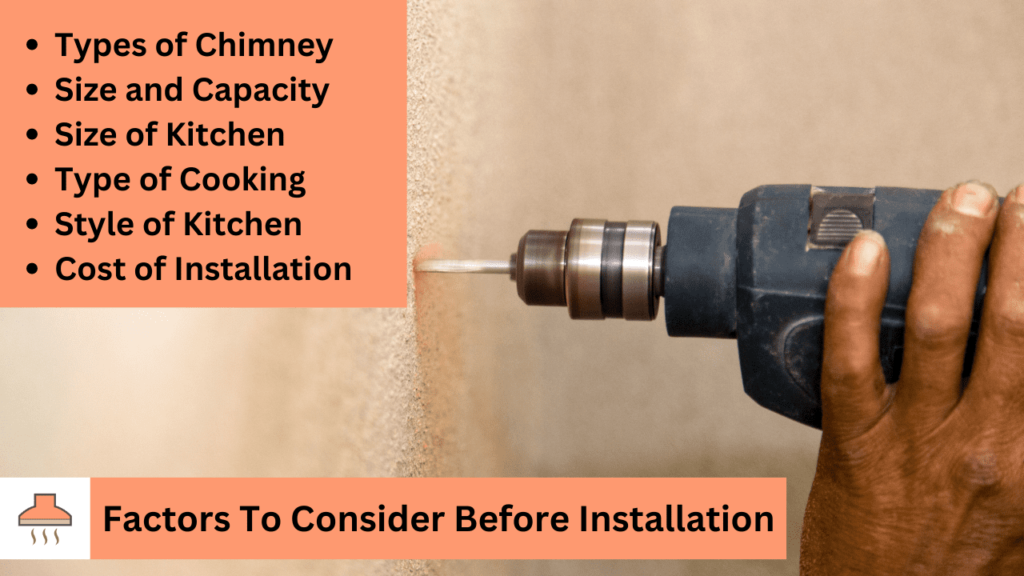
Before you go ahead and install a kitchen chimney yourself, there are several factors that you should consider to ensure that you get the best results. Here are some of the most important factors to consider before installing a kitchen chimney.

Types of Kitchen Chimneys
One of the first things to consider before installing a kitchen chimney is the type of chimney that will best suit your needs. There are two main types of kitchen chimneys: wall-mounted chimneys and island chimneys. Wall-mounted chimneys are typically installed above the stove and are the most common type of chimney. Island chimneys, on the other hand, are installed in the center of the kitchen and are best suited for larger kitchens.
Read More – The 5 types of Kitchen Chimneys
Size and Capacity
Another important factor to consider before installing a kitchen chimney is the size and capacity of the chimney. The size of the chimney should be determined by the size of your kitchen and the amount of cooking that you do. A larger kitchen and more frequent cooking will require a larger chimney. The capacity of the chimney, on the other hand, is determined by the amount of smoke and odors that it can effectively remove from the kitchen.
Size of the Kitchen
The size of your kitchen is one of the most important factors to consider when installing a kitchen chimney. The size of the kitchen will determine the size and type of chimney that you need. A small kitchen will require a smaller chimney, while a larger kitchen will require a larger chimney. It is important to measure the size of your kitchen and consult with a professional to determine the best size and type of chimney for your needs.
Type of Cooking
The type of cooking that you do in your kitchen is another important factor to consider when installing a kitchen chimney. If you frequently cook with oils and fats, you will need a chimney with a higher suction power to remove the smoke and odors. If you mostly use a microwave and electric stove, you will require a chimney with lower suction power. It’s important to consider the type of cooking you do and choose a chimney that will suit your needs.
Style of the Kitchen
The style of your kitchen is another important factor to consider when installing a kitchen chimney. The chimney should match the style of your kitchen and complement it. There are various styles of kitchen chimneys available, from modern to traditional. Choose a style that will match your kitchen and make it look more beautiful.
Cost
Cost is another important factor to consider when installing a kitchen chimney. Kitchen chimneys come in various price ranges and you should choose a chimney that fits your budget. It’s important to keep in mind that a cheaper chimney may not be the best option in the long run, as it may not be as efficient or durable as a more expensive one.
NOTE:- You can always hire a professional to install the chimney to ensure that it is done correctly and working efficiently. Below are the standard installation costs for the wall mounted and island type kitchen chimneys.
If you do not have the necessary tools for the installation of kitchen chimney, it will be best that you hire a professional as buying the tools could cost you more.
Kitchen Chimney Installation Guide: Understanding the Costs Involved.
Now, we will break down the cost of installing a kitchen chimney and what you can expect during the installation process, if you hire a professional.
| Types of Chimney | Standard Installation Cost |
|---|---|
| Wall-Mounted Chimneys | Rs. 500-600/- |
| Island Chimney | Rs. 1500-2500/- (depends upon the brand) Bosch offer free installation with their kitchen chimneys. |
The cost of installing a kitchen chimney is broken down into two parts: the standard installation fee and the cost of the ducting kit. The standard installation fee is ₹600, which covers the labor costs of installing the chimney. This fee includes the cost of the technician’s time, as well as any tools and equipment needed for the installation.
The second part of the cost is the ducting kit, which is priced at ₹1200. This kit includes all the necessary components to properly vent the chimney, such as a vent, pipe, and elbow.
In total, you can expect to pay around ₹1800 for the installation of a kitchen chimney including ducting kit. It is important to note that this cost may vary depending on the brand you choose, the type of chimney you select, and the specific circumstances of your installation.
Step-by-Step Instructions.
That being said, here are the step-by-step instructions for the kitchen chimney installation.

Step 1: Measure and Mark the Vent Location
The first step in installing a kitchen chimney is to determine the location of the vent. This should be placed directly above the cooktop, making sure to keep the minimum distance from combustible materials as per the manufacturer’s instructions. Use the measuring tape to mark the location of the vent and use the level to ensure that it is straight.
Important: The ideal distance between the kitchen stove and the chimney is 30 inches. However, some manufacturers recommend a chimney height between 22 to 30 inches.
Step 2: Drill the Hole
Next, use the hole saw to drill a hole in the marked location. The size of the hole will depend on the size of the vent, so make sure to check the manufacturer’s instructions for the correct size. Usually, a 6-inch diameter hole saw will do the job.
Note:- Before you start operating the drill you should know how to operate it. Here’s a guide on how to use the Drill.
Step 3: Install the Vent
Insert the vent through the hole and secure it in place using the screws provided in the chimney kit. Use the screwdriver to tighten the screws and make sure that the vent is securely in place.
Step 4: Install the Pipe and Elbow
Attach the pipe and elbow to the vent, making sure to follow the manufacturer’s instructions for the correct orientation. Use the adjustable wrench to tighten the connections and make sure that they are secure.
Step 5: Seal the Connections
Use the sealant to seal any gaps or connections between the vent, pipe, and elbow. This will help prevent any leaks and ensure proper ventilation.
Step 6: Test and Use
Once the installation is complete, test the kitchen chimney to make sure that it is working properly. If everything is in order, you can now use your kitchen chimney to remove smoke, odors, and grease from your kitchen.
Conclusion
In conclusion, our kitchen chimney installation guide provides a comprehensive and easy-to-follow approach for installing a kitchen chimney in your home. From understanding the tools and materials required, to following the step-by-step instructions, our guide ensures that you can complete the installation process with confidence and improve the ventilation and air quality of your kitchen

